
In 2026, mobile and web application users are growing at an unprecedented pace, with businesses focusing on AI-driven personalization, speed, and flawless user experiences. To meet these demands, companies rely on robust technologies like ReactJS, which continues to dominate the front-end ecosystem.
ReactJS is more than just a JavaScript library; it’s a core technology for building intelligent, scalable, and future-proof applications. With advancements in AI coding assistants, server-side rendering (SSR), and mobile-first frameworks, React has evolved into a vital tool for modern businesses.
What is ReactJS?

ReactJS (commonly known as React) is an open-source JavaScript library developed by Facebook (now Meta) in 2013. Its component-based architecture and Virtual DOM changed the landscape of front-end development by enabling faster and more dynamic UI updates.
Read More: Difference Between ReactJS and React Native
Fast-forward to 2026, React has matured into a powerhouse for AI-driven applications, enterprise-scale projects, and cross-platform development. With React Native for mobile apps and Next.js for advanced SSR and SEO capabilities, React is now a cornerstone of the AI-powered web.
Key Features of React JS in 2026
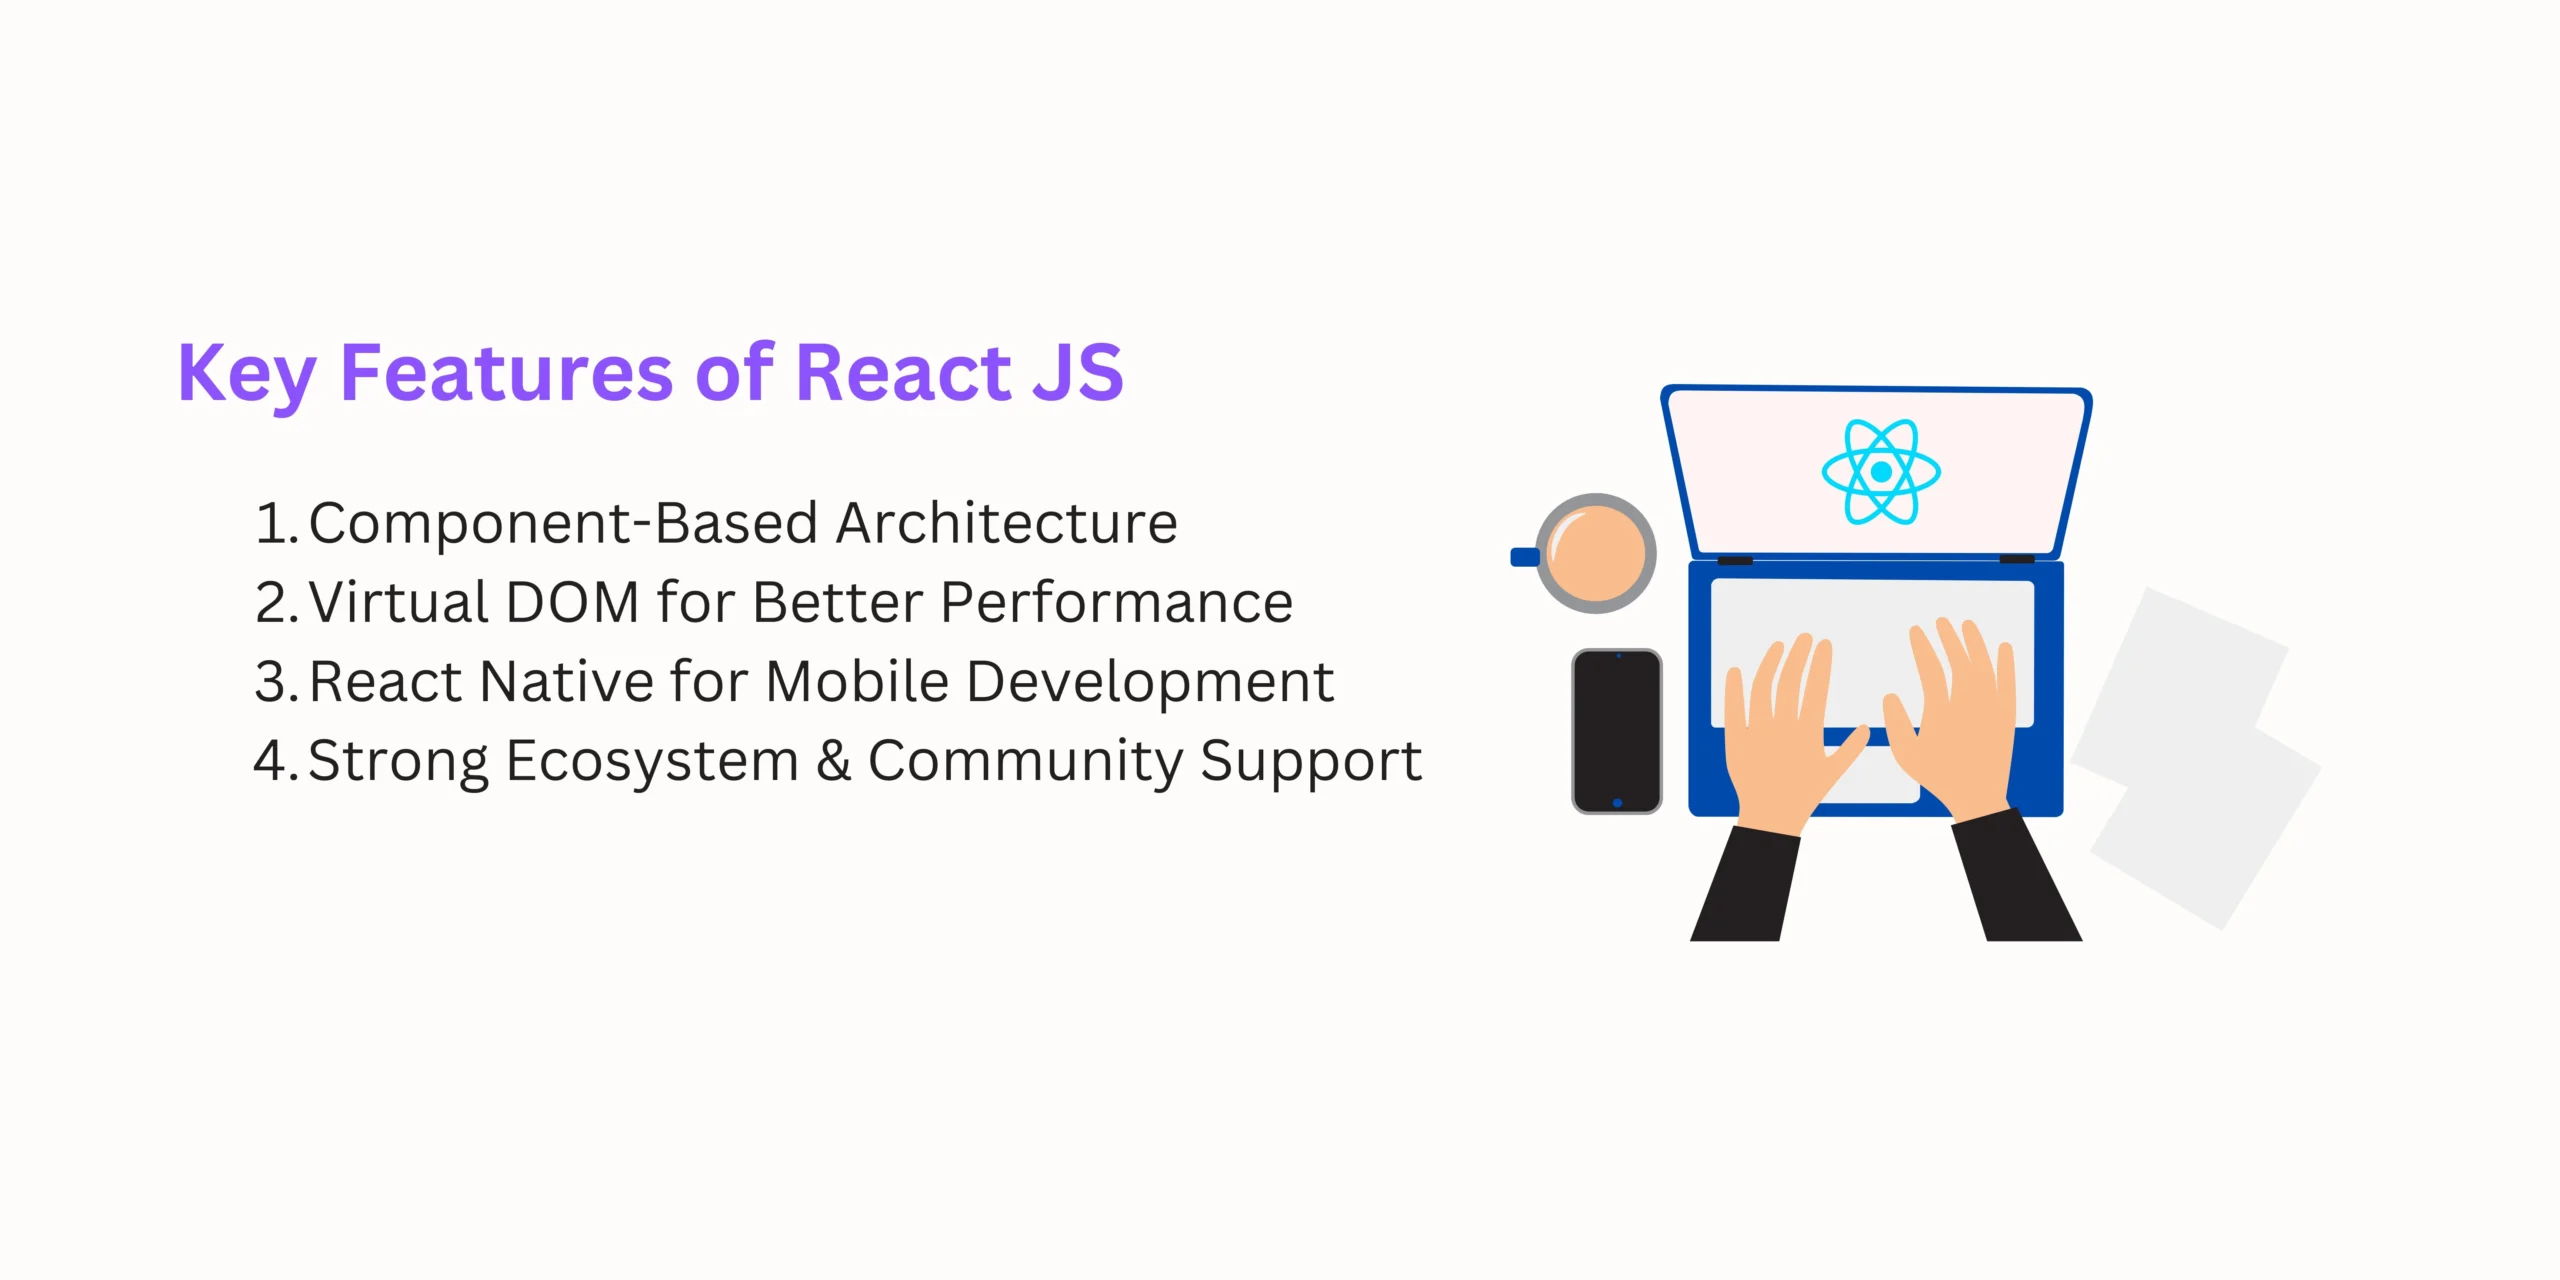
- Component-Based Architecture: React encourages developers to break down the UI into reusable components, making code modular and maintainable.
- Virtual DOM for Better Performance: The Virtual DOM minimizes direct manipulation of the actual DOM, resulting in faster rendering.
- React Native for Mobile Development: The ability to build mobile applications using React.js has expanded its reach beyond web development.
- AI Integration Capabilities: React smoothly connects with AI APIs (OpenAI, Anthropic, Hugging Face). Enables intelligent UIs, generative content apps, AI-powered search, and recommendations.
- Strong Ecosystem & Community Support: A vibrant community and a vast ecosystem of libraries and tools support React.js development.
React JS vs. Other Front-End Frameworks in 2026
To gain a comprehensive understanding of React.js, it’s essential to compare it with its competitors. Notable alternatives to React.js include Angular, Vue.js, and Ember.js.
| Feature | React.js | Angular | Vue.js | Ember.js |
| Type | Library (focused on UI) | Full-fledged framework | Progressive framework | Full-fledged framework |
| Learning Curve | Moderate (JSX syntax) | Steep (TypeScript, complex) | Easiest among all | Steep (Convention over config) |
| Performance | Fast (Virtual DOM) | Good but heavy due to two-way binding | Fast with small app sizes | Slower than React, optimized for large apps |
| Community & Adoption | Large, backed by Meta | Large, backed by Google | Growing | Smaller but dedicated |
| Flexibility | Highly flexible, integrates easily | Strict structure,
less flexible |
Flexible with a simple core | Less flexible |
| Best for | SPAs, dynamic UI, scalable apps | Enterprise-level apps, large projects | Lightweight SPAs, quick MVPs | Complex, large-scale applications |
React.js vs. Angular
- React is a library, while Angular is a full-fledged framework.
- React’s learning curve is generally considered lower than that of Angular.
- React’s virtual DOM offers better performance in certain scenarios.
React.js vs. Vue.js
- Both React and Vue are component-based.
- Vue offers a more gradual learning curve for beginners.
- React has a larger community and a more extensive ecosystem.
React.js vs. Ember.js
- React focuses on the view layer, whereas Ember is a full-stack framework.
- Ember follows a strong convention-over-configuration approach.
- React provides more flexibility in choosing additional libraries and tools.
Why Use ReactJS in 2026?
The main question that arises is, when you have an array of open-source platforms, why should you choose ReactJS over other platforms? If you want to know why React JS stands out amongst all the front-end frameworks, then here are the benefits of using React JS:

1. Easy to Learn and Use
ReactJS is quite simple and easy to use. You can easily build any professional website with it as it uses less coding and provides high functionality. It’s built on a syntax called JSX. Its usability and applications set it apart, as JSX syntax is easy to code and use.
AI coding assistants (GitHub Copilot, Codeium, Cursor AI) now make the React learning curve easier than ever by suggesting real-time code snippets.
2. Enhanced Performance with Virtual DOM
You can easily develop websites quite fast, as they use the virtual DOM. The benefit of a virtual DOM is that it only updates the components that have changed instead of updating all of them.
Earlier, JavaScript was fast, but due to the update of the DOM, it became slow. Most libraries used to update them inefficiently, which resulted in changes in specific pages of the web.
Instead of updating all the components, the React team found an efficient way of updating the components’ existing state changes. Initially, React would monitor each component and find significant changes. If the component state has changed, it would compare the changed state with what the new DOM will look like. Then it would find an efficient way to update the components.
This might sound complicated, but ReactJS does it effectively. Also, most people use applications on their mobile devices, so it saves battery. Moreover, React JS is speedy as it automatically changes the state when the data gets updated, as it’s stored in the memory.
3. Strong Community & Industry Adoption
ReactJS has become quite popular and, due to its growing popularity and demand, it has attracted a massive community and has become one of the top repositories on GitHub.
In fact, according to a Stackshare report, more than 10,000+ companies in 2026, including Netflix, Airbnb, Shopify, and WhatsApp, use React for front-end web development.
You would be amazed to know there’s a community specifically for ReactJS called React Flux. It has over 1,10,000 members who actively share and discuss their reactions to the problems.
4. Easy Testing with AI Support
ReactJS is user-friendly and easy to test. Generally, UI browser testing is quite a hassle as it becomes difficult to set up, while ReactJS requires less configuration for testing.
Also, you can easily test React’s components as it uses the Node command line. The node command line works fast.
Unlike traditional UI browsers, which consume a lot of time, ReactJS can be written quickly with tools such as Enzyme and Jest. This makes testing quick and efficient. AI tools now auto-generate test cases → reducing QA cycles.
5. Flexibility Across Platforms
From web apps to mobile apps (React Native) and even AI dashboards, React works everywhere. What makes ReactJS more flexible than other libraries is that it is easy to use and can be used on various platforms for creating better user interfaces. You just have to learn it once, and then you’ll be good to go.
The silver lining is that it can be used for more than just developing new applications. You can use it in existing applications as well.
If you change a small part of the application, and if the changes work, then you can easily convert the entire application into ReactJS. Isn’t it amazing?
6. Reusable Components for Scalability
React has a component structure. It all starts with building buttons, checkboxes, dropdowns, etc. Once you start with these tiny components, they start creating wrapper components. Here, each component has its own logic and can decide how it has to be rendered. What makes it stand out is that you can easily reuse the components.
AI-powered tools now even auto-generate reusable component libraries for teams.
7. Built-in & AI-Enhanced Developer Tools
ReactJS has amazing developer tools, such as Redux developer tools and React developer tools. You can easily install and add them to your Chrome extensions. AI debugging tools can now auto-detect state errors and suggest fixes.
You can use the React developer tools to inspect components and observe the current props and states. If you are using the Redux library, you can dispatch actions, modify stores, and view the changes in stores.
React JS in Enterprise & AI Use Cases (2026)
React is not just for SPAs anymore. It’s powering AI-driven enterprise applications such as:
-
AI Dashboards & Analytics: Data-heavy apps with interactive charts.
-
Chatbot UIs: Conversational interfaces powered by LLMs.
-
E-commerce: Personalized product recommendations using AI APIs.
-
Healthcare apps: Voice-enabled patient portals with React Native.
-
Finance apps: Real-time data visualization with predictive AI models.
Read More: Best Frontend Frameworks For Web Development 2026
How to Get Started with React JS in 2026?
1. Set Up Your Environment
Before you can start using React, you need to set up your development environment. Follow these steps to get started:
Step 1: Install Node.js and npm
Install Node.js 22+ (bundled with npm and pnpm for faster package installs). Download and install Node.js from the official website, which includes npm.
Step 2: Create a New React Application
You can create a new React application using the “Create React App” command-line tool. Run the following command:
npx create-react-app my-react-app
Step 3: Start the Development Server
Navigate to your project directory and start the development server by running:
cd my-react-app

npm start
2. Build Components
React applications are built using components. A component is a reusable, self-contained piece of UI. Here’s how you can create your first React component:
Step 1: Create a New Component File
Inside your project directory, create a new file with a “.js” extension, e.g., “MyComponent.js.”
Step 2: Define Your Component
In “MyComponent.js,” define your component using React syntax. For example:
import React from 'react';
function MyComponent() {
return <div>Hello, React!</div>;
}
export default MyComponent;
Step 3: Use Your Component
You can now use your component in other parts of your application. Import it and include it in your JSX code.
3. Manage State & Data
In React, state and props are essential concepts for building dynamic and interactive components.
State: State represents the data that a component can maintain and modify. To use a state in a component, you can declare it using the useState hook or in a class-based component’s constructor.
Props: Props (short for properties) are used to pass data from parent to child components. They are read-only and help in creating reusable and configurable components.
4. Routing
React components go through a lifecycle, and you can hook into various lifecycle events to perform actions. Some common lifecycle methods include componentDidMount, componentDidUpdate, and componentWillUnmount. These methods allow you to manage side effects, data fetching, and cleanup.
5. Style Components
Styling is a crucial aspect of web development. You can style your React components using CSS, CSS-in-JS libraries, or preprocessors like SASS. Consider using libraries like Styled-components for a more organized approach to styling in React.
6. Testing & Deployment
Testing is a crucial part of the development process. React applications can be tested using various libraries and tools, such as Jest and React Testing Library. Jest + AI-assisted test case generation. Deploy with Vercel, Netlify, or AWS Amplify (optimized for SSR + AI APIs).
Optimizing your React application for search engines is vital for visibility and traffic. Ensure that your app has proper meta tags, including title and description. Use server-side rendering (SSR) or static site generation (SSG) to improve SEO.

Conclusion
ReactJS remains the most powerful front-end library in 2026, owing to its performance, AI integration, scalability, and ecosystem support. Whether you’re building an AI-powered SaaS platform, a high-traffic e-commerce store, or a mobile-first app, React offers unmatched flexibility.
Its component reusability, strong community, and modern AI-driven workflows make it an essential choice for businesses looking to future-proof their digital presence.
Looking to Hire a ReactJS Developer?
At GraffersID, we provide top remote ReactJS developers in India who are skilled in building AI-driven, scalable, and high-performing applications.
Contact GraffersID today to hire expert React developers and build the future of your digital business.